ASP.NET MVC - Deployment
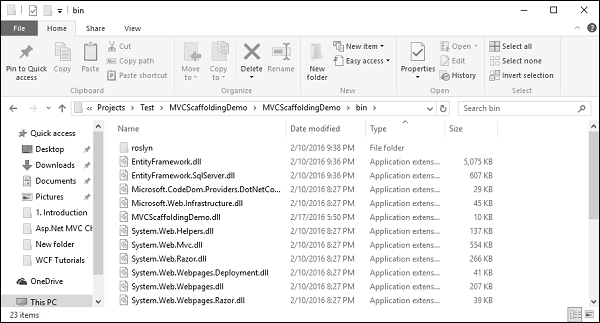
we will be covering how to deploy ASP.NET MVC application. After understating different concepts in ASP.NET MVC applications, now it’s time to understand the deployment process. So, whenever we are building any MVC application we are basically producing a dll file associated for the same with all the application settings and logic inside and these dlls are in the bin directory of the project as shown in the following screenshot.
Publishing to Microsoft Azure
Let’s take a look at a simple example in which we will deploy our example to Microsoft Azure.
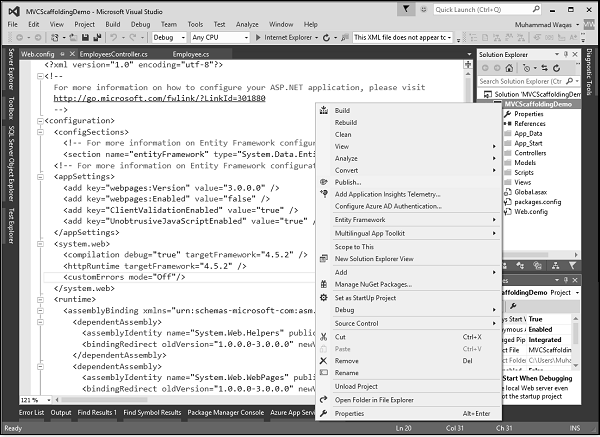
Step 1 − Right-click on the project in the Solution Explorer and select Publish as shown in the following screenshot.
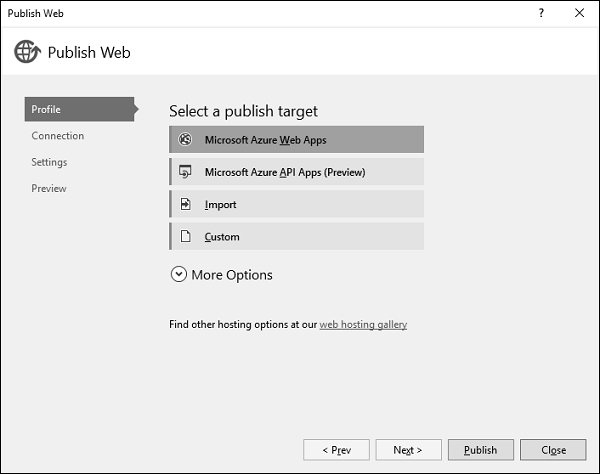
Step 2 − You will see the Publish Web dialog. Click on the Microsoft Azure Web Apps.
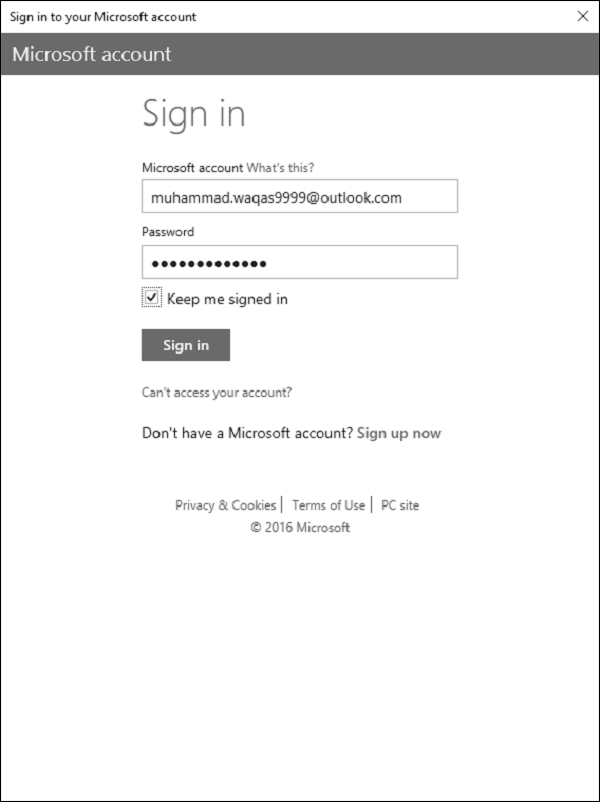
It will display the ‘Sign in’ page.
Step 3 − Enter credentials for the Microsoft Azure Subscription.
Once you’re successfully connected to your Azure account, you will see the following dialog.
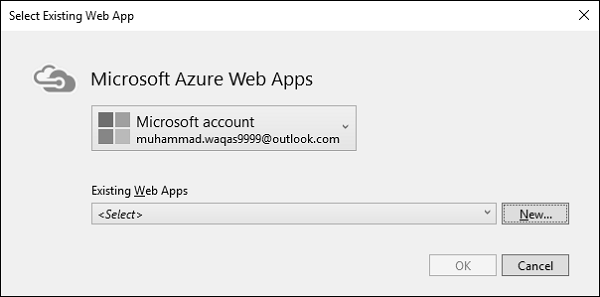
Step 4 − Click ‘New’ button.
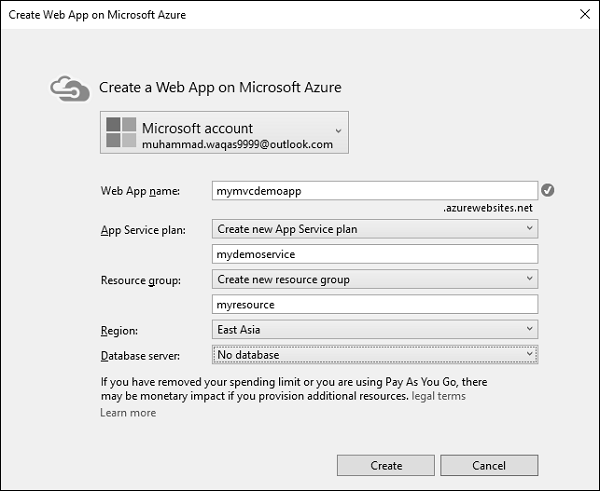
Step 5 − Enter the desired information on the above dialog such as Web App name, which must be a unique name. You will also need to enter App service plan, resource group, and then select your region.
Step 6 − Click ‘Next’ button to continue.
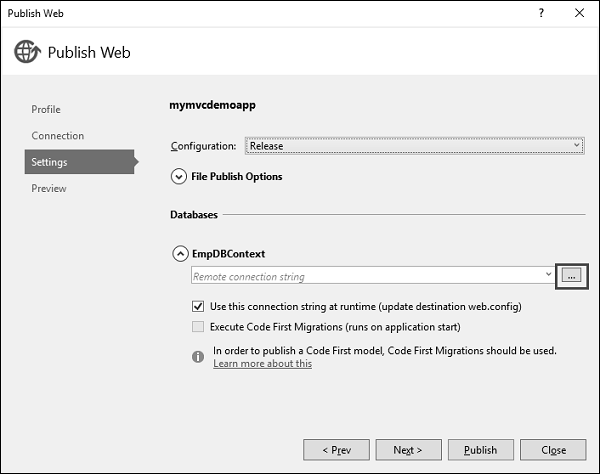
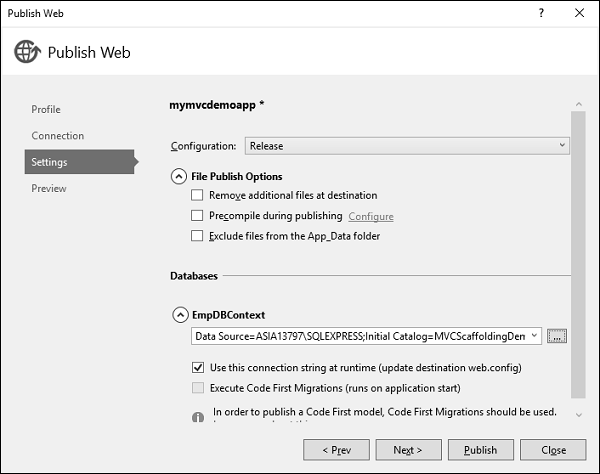
Step 7 − Click the ellipsis mark ‘…’ to select the connection string.
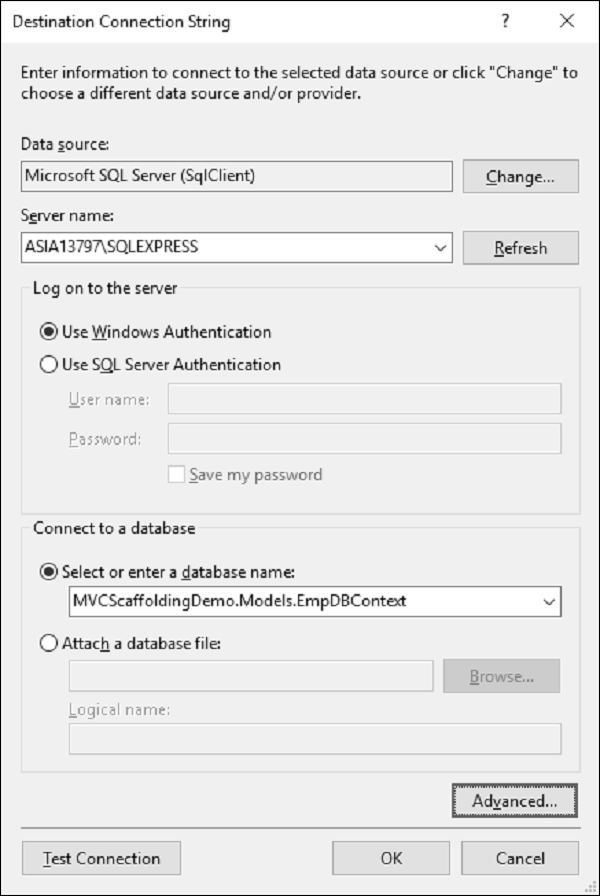
Step 8 − Select the server name and then choose the Windows Authentication option. Select the database name as well. Now you will see that the connection string is generated for you.

Step 9 − Click ‘Next’ to continue.
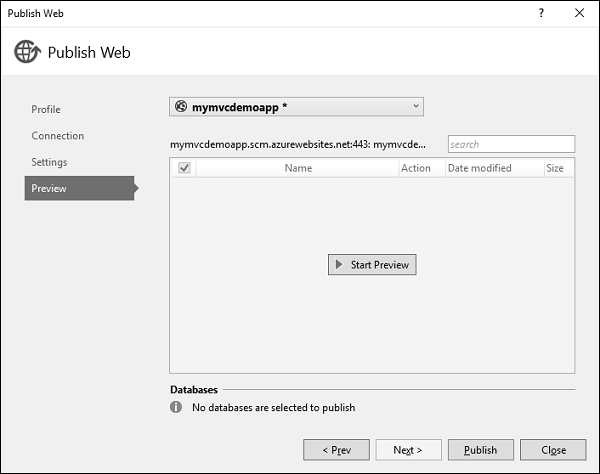
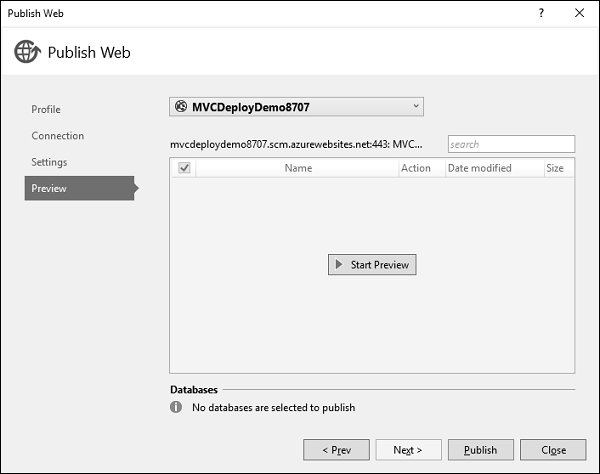
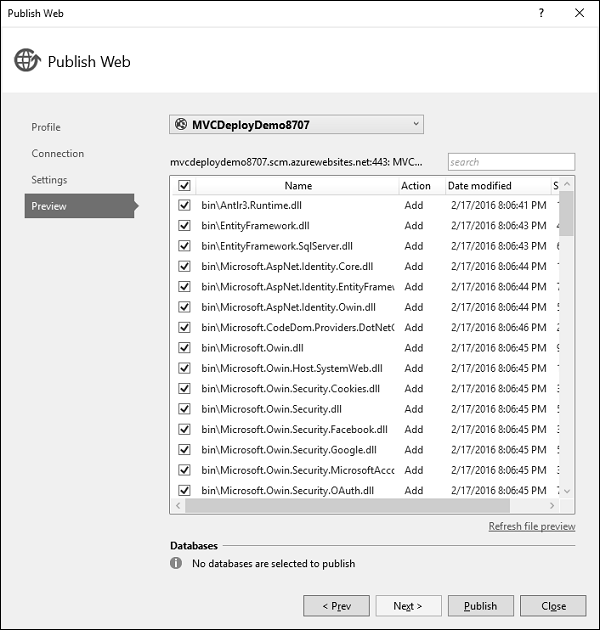
Step 10 − To check all the files and dlls which we will be publishing to Azure, click the Start Preview. Click ‘Publish’ button to publish your application.
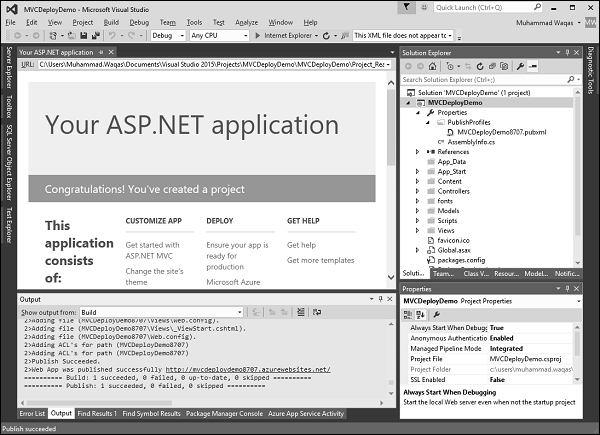
Once the application is successfully published to Azure, you will see the message in the output window.

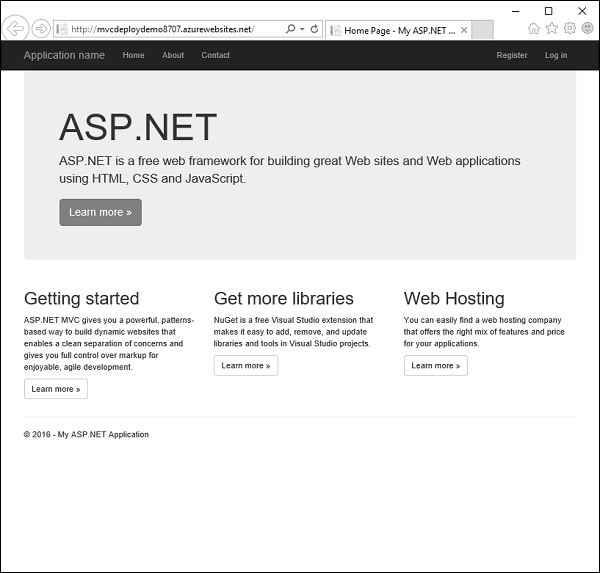
Step 11 − Now open your browser and enter the following URL ‘http://mymvcdemoapp.azurewebsites.net/employees’ and you will see the list of employees.

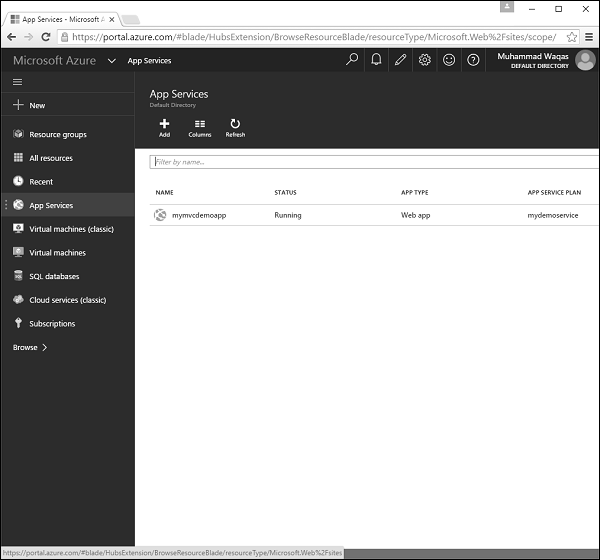
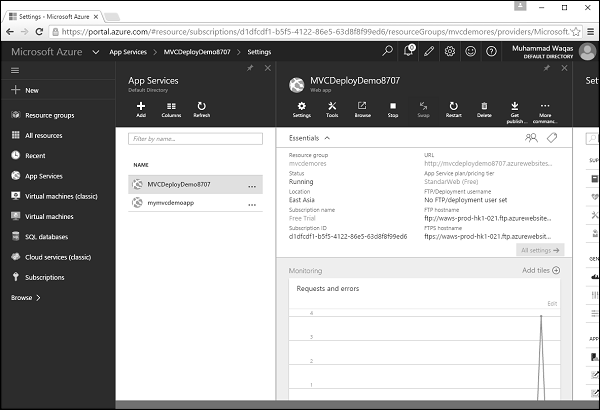
Step 12 − Now if you go to your Azure portal and click ‘App Services’, then you see that your application is deployed to Azure.
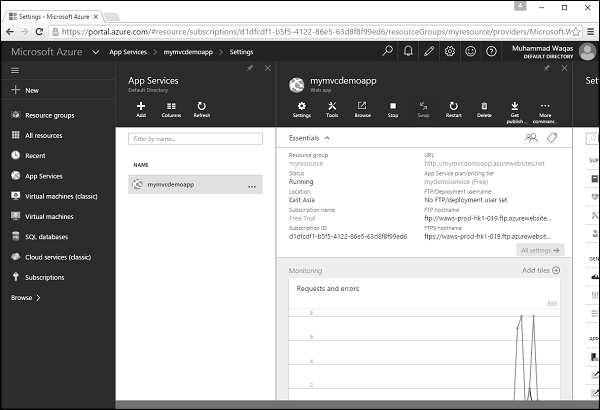
Step 13 − Click the name of your app and you will see the information related to that application such as URL, Status, Location, etc.
We have seen so far how to publish a web application to Azure app, after the application is created. You can also create an application, which will be deployed to Azure.
Let’s create a new ASP.NET MVC application.
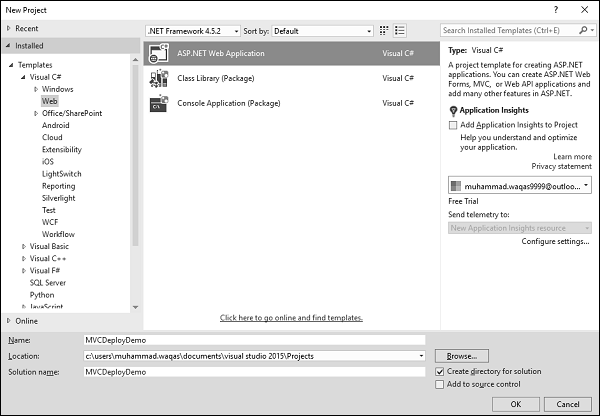
Step 1 − Click Ok and you will see the following dialog.
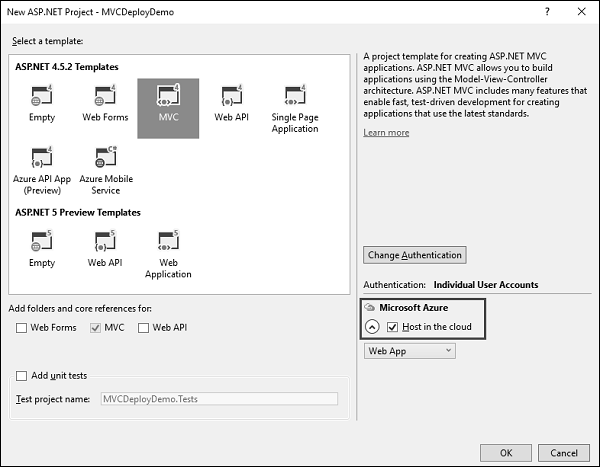
Step 2 − Select MVC template and also check Host in the Cloud checkbox. Click Ok.
When the Configure Microsoft Azure Web App Settings dialog appears, make sure that you are signed in to Azure.
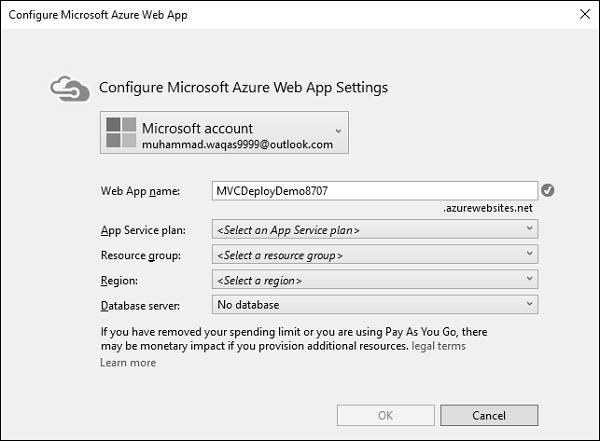
You can see the default name, but you can also change the Web App name.
Step 3 − Enter the desired information as shown in the following screenshot.
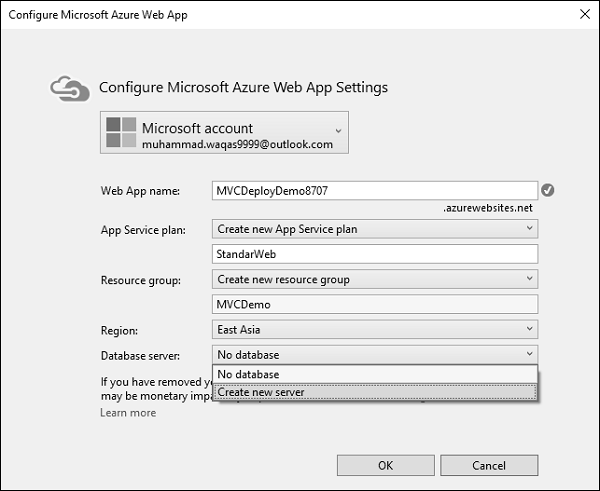
Step 4 − Select the ‘Create new server’ from the Database server dropdown and you will see the additional field.
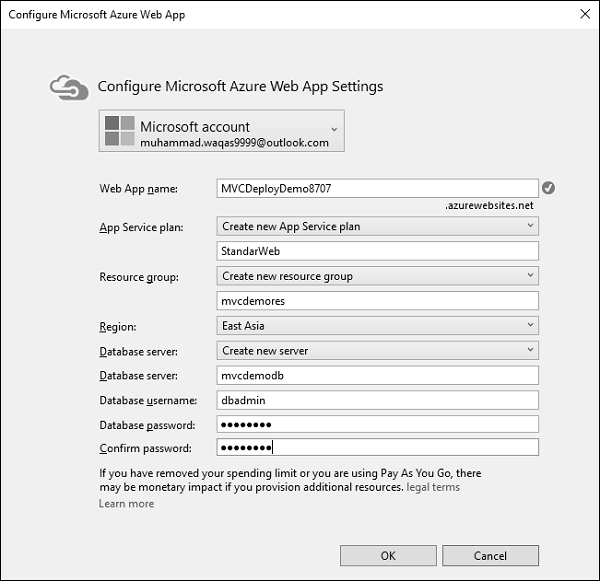
Step 5 − Enter the Database server, username, and password. Click Ok.
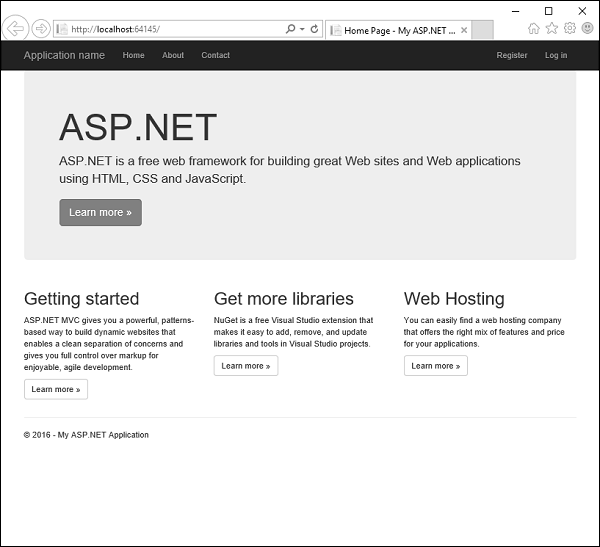
Step 6 − Once the project is created, run the application and you will see that it is running on the localhost.
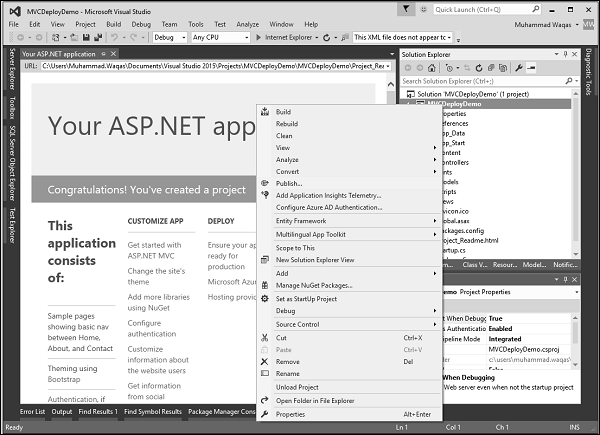
Step 7 − To deploy these applications to Azure, right-click on the project in the solution explorer and select ‘Publish’.
You will see the following dialog.
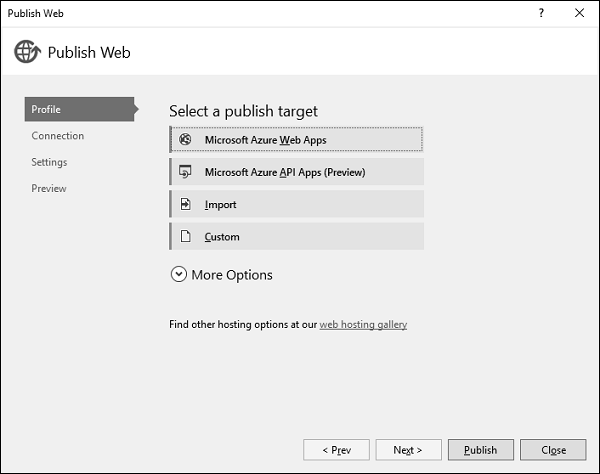
Step 8 − Click the ‘Microsoft Azure Web Apps’.
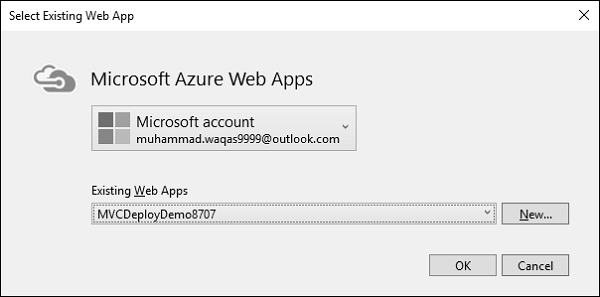
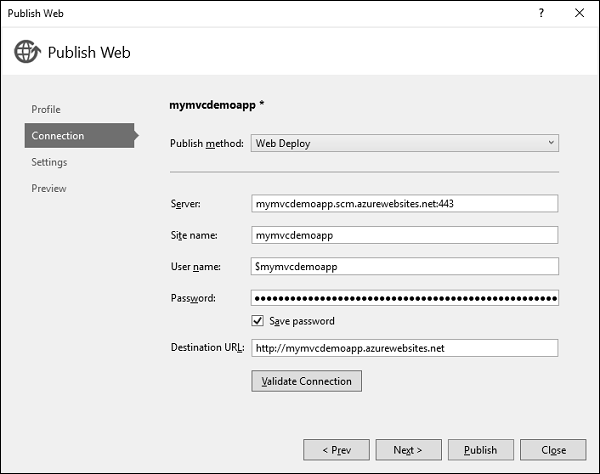
Step 9 − Select your application name from the Existing Web Apps and click Ok.
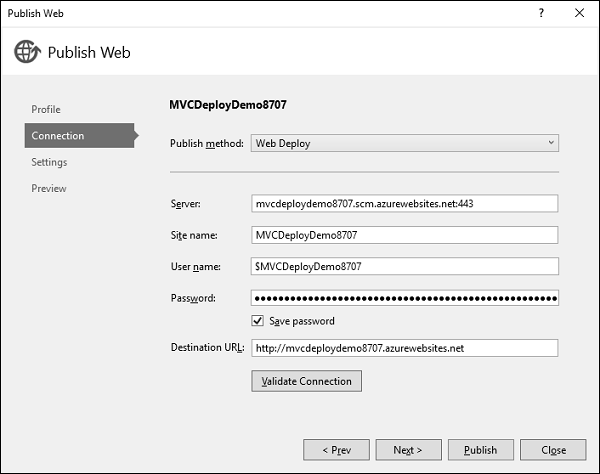
Step 10 − Click the ‘Validate Connection’ button to check for the connection on Azure.

Step 11 − Click ‘Next’ to continue.
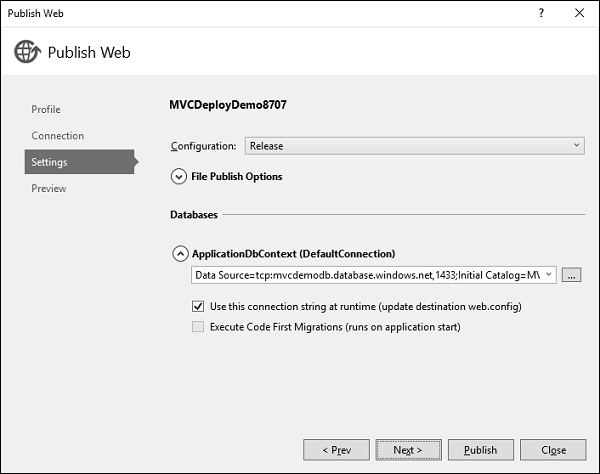
Now you will see that the connection string is already generated by default.
Step 12 − Click ‘Next’ to continue.
Step 13 − To check all the files and dlls which will be published to Azure, click the ‘Start Preview’.
Step 14 − Click ‘Publish’ button to publish your application. Once the application is successfully published to Azure, you will see the message in the output window.
You will also see that the application is now running from the cloud.
Let’s go to Azure portal again. You will see the app here as well.
No comments:
Post a Comment